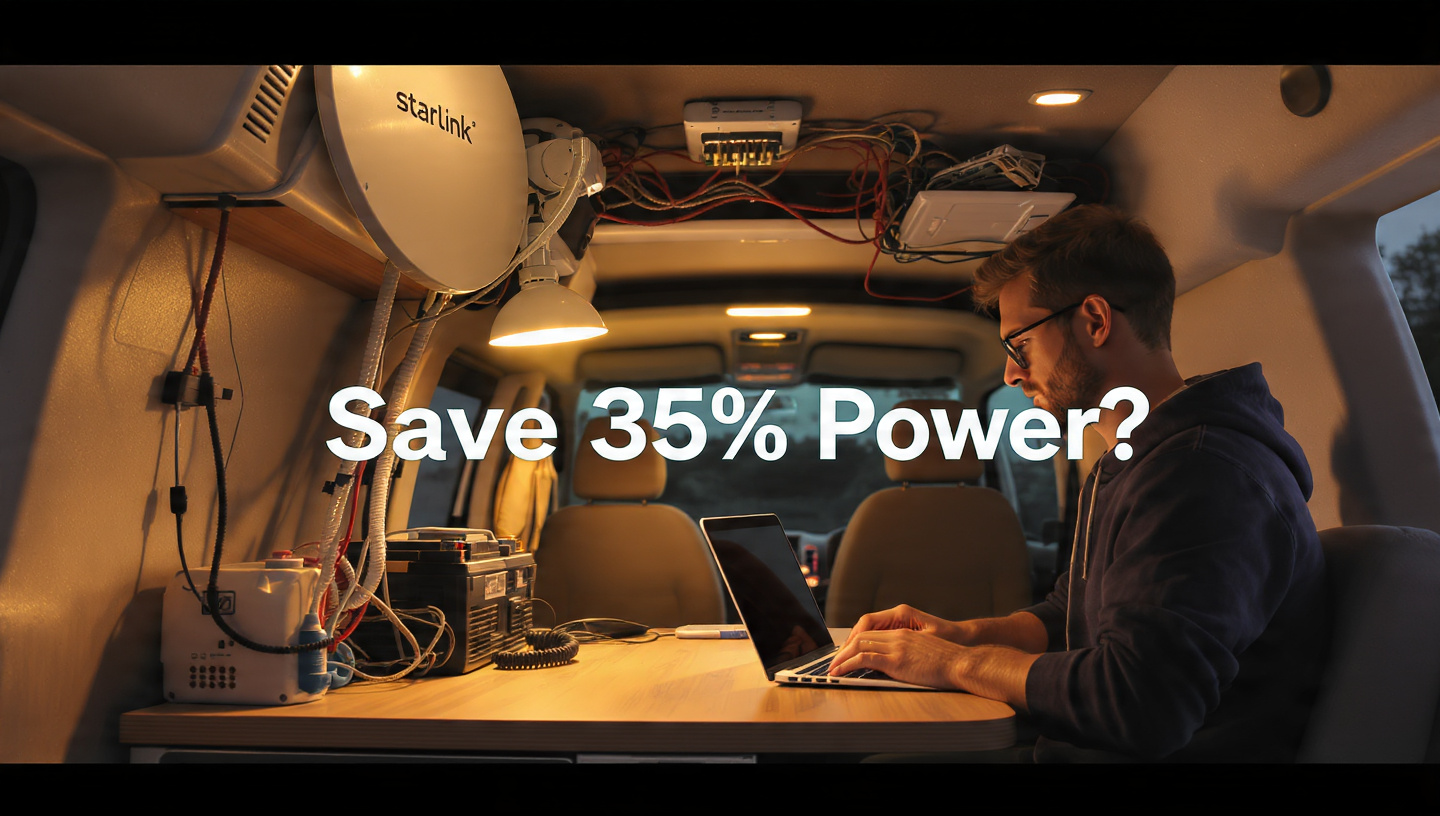
Why Your Old Hardware Won’t Fit: Comparing Starlink Gen 3 and Gen 2 Mounts
A frustrating surprise could be in store for you if you’ve chosen to upgrade your Starlink setup or if you’ve recently received the latest “Standard” Dish (Gen 3). Stepping onto your vehicle or roof, you grab your reliable Gen 2 pipe adapter or tripod, only to discover that nothing fits.

The leap from the Actuated “Motorized” Gen 2 dish to the Kickstand “Manual” Gen 3 dish was a complete hardware revolution, not only a software upgrade. In terms of the mounting ecosystem, mast diameter, and locking mechanism, SpaceX made a full overhaul.
Your old gear is now worthless because of the structural differences between Starlink Gen 3 vs. Gen 2 mounts, which we will examine in this article.
1. The “Click-Button” Mast’s Demise
There was no Gen 2 Starlink more recognizable than its signature round mast featuring the spring-loaded “click-button.” After sliding it into a mount and hearing the click, you were good to go.
Gen 3 revolutionized the industry. There is no longer any protruding mast on the new Gen 3 dish. The back is flat, and it comes with a detachable “Kickstand” or a narrow rectangular mounting “slice.” Your outdated Gen 2 mounts won’t work anymore due to the change in physical shape of the connection point from a spherical pole to a rectangular socket.
2. The Game of Mast Diameter in Millimeters
An adaptor to convert your Gen 3 to a “pole-mounted” dish isn’t going to help you overcome the second obstacle, diameter.
-
Second Generation Mast: Around 1.35 inches (34mm).
-
Gen 3 Pole Adapter Output: Poles up to 2 inches (50mm) in diameter can be accommodated.

The official pole adapter for a Gen 3 dish is wider than that of a Gen 2 mount, hence it will not fit. It will sway and slant until it catches enough wind to break the link. Compared to its predecessor, the Starlink Gen 3 vs. Gen 2 mounts comparison shows the newer version is substantially “beefier” to accommodate the Gen 3 dish’s bigger surface area.
3. The “Kickstand” and the “Motor”
The Gen 2 dish was “Actuated,” which means it had motors within to tilt and turn. The mounts had to be constructed to accommodate the movement because of this.
There is a manual for the Gen 3 dish. Included with it is a kickstand for use on the floor. It maintains a stationary position when mounted on a roof or van. Now that it doesn’t “self-align,” the mounting hardware must be significantly more sturdy. Gen 2 mounts rely on the dish’s ability to counteract its own weight via the motor’s center of gravity; Gen 3 mounts, on the other hand, must maintain absolute stillness in the face of 60 MPH gusts while supporting a substantially bigger and flatter surface area.
4. The Latest Plug Design and Cable Interference
The entry point for the cables is another reason your previous hardware won’t work.
-
In Generation 2: The cable was securely inserted into the pipe and attached to the base of the pole.
-
In Generation 3: There is a weather-sealed door on the rear of the dish where the cable is directly plugged in.
Slim Gen 2 plugs are designed to fit into many Gen 2 mounts, including the Flashing Mount and the Long Wall Mount. These mounts typically have limited apertures. The RJ45-style connector used by Gen 3 is more thicker and protected, and it comes with a huge watertight boot. The holes of the earlier generation of hardware are just too big for it to thread through.
5. Are You Able to Mount Gen 2 of “MacGyver”?
This is a common question among the off-grid communities. Reusing Gen 2 hardware and saving $50 is what many are after. We don’t recommend using third-party “Gen 2 to Gen 3” adapters in vehicles, even if they are available.
When compared to the Gen 2 dish, the Gen 3 one is much broader. The mounting point experiences increased “Torque” due to the additional breadth. The metal is overloaded when you use an older Gen 2 mount, even with an adapter. It might be possible to park at a cabin without any problems. Mounting it on a Sprinter van for highway driving is putting a pricey piece of tech at danger.
6. Which Pieces of Hardware Are Necessary for Gen 3?
Be on the lookout for the following “Version 3” accessories if you’re upgrading to Gen 3:
-
Gen 3 Pipe Adapter: The most adaptable component. A 2-inch socket, suitable for use with any conventional pole, is transformed from the Gen 3’s flat back.
-
Gen 3 Wall Mount: A sturdy “long arm” mount, the Gen 3 Wall Mount takes into consideration the dish’s larger footprint to prevent it from colliding with the wall of your building or van.
-
Gen 3 Mobility Mount: For individuals who prefer to “Flat Mount” the dish onto a roof rack.

7. Synopsis: Embracing the Modern Age
Starlink Gen 3 vs. Gen 2 mounts are designed to be more durable and simpler. The new method is far more stable for users who are off-grid, but it’s annoying that the old mounts don’t work.
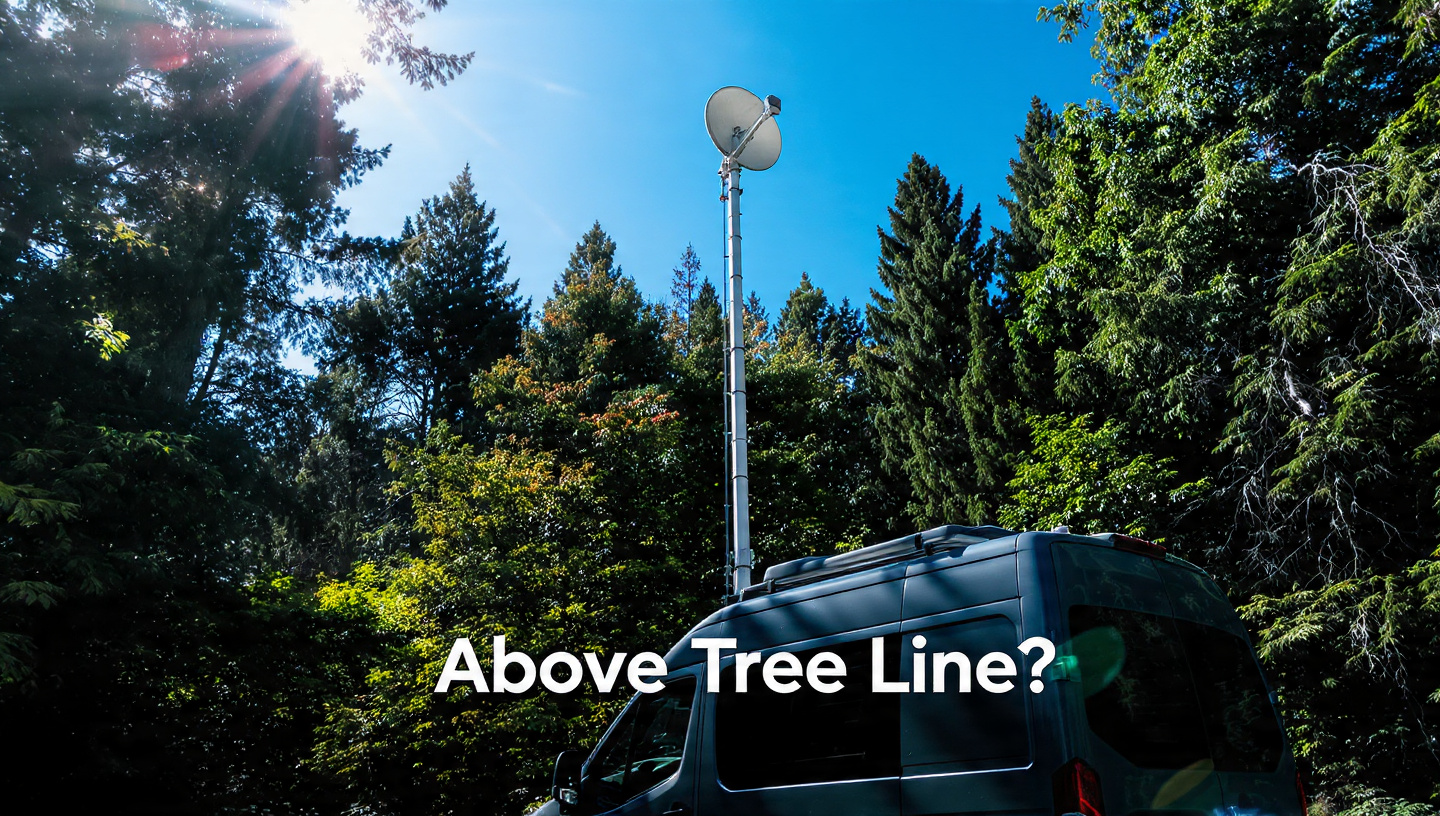
Because it doesn’t have motors, the Gen 3 is easier to conceal on vans, and its flat back makes it easier to install “stealth” mounts, which are great when you’re 100 miles from help.
Helpful Hints
Q: How does the Gen 3 dish compare to the Gen 2?A: With Wi-Fi 6 technology and its inherent speed, sure. However, the Gen 2’s spherical mast made it marginally easier to mount for “plug and play” consumers.
Q: Can I buy an official adaptor from SpaceX to use with Gen 2 mounts?A: No. An upgrade to the Gen 3 mounting ecosystem is what SpaceX has in mind for you. Any “Gen 2 to Gen 3” adapters you come across are actually manufactured by independent companies.
Q: Is it compatible with a Gen 3 dish to use a Gen 2 cable?A: No. A unique, waterproof RJ45 Ethernet-style cable is used by Gen 3, in contrast to the Gen 2’s proprietary “USB-C-ish” connector. You can’t use one for the other.