A Do-It-Yourself Guide to Mounting Your Starlink Above Tree Line for $20 Using PVC Poles
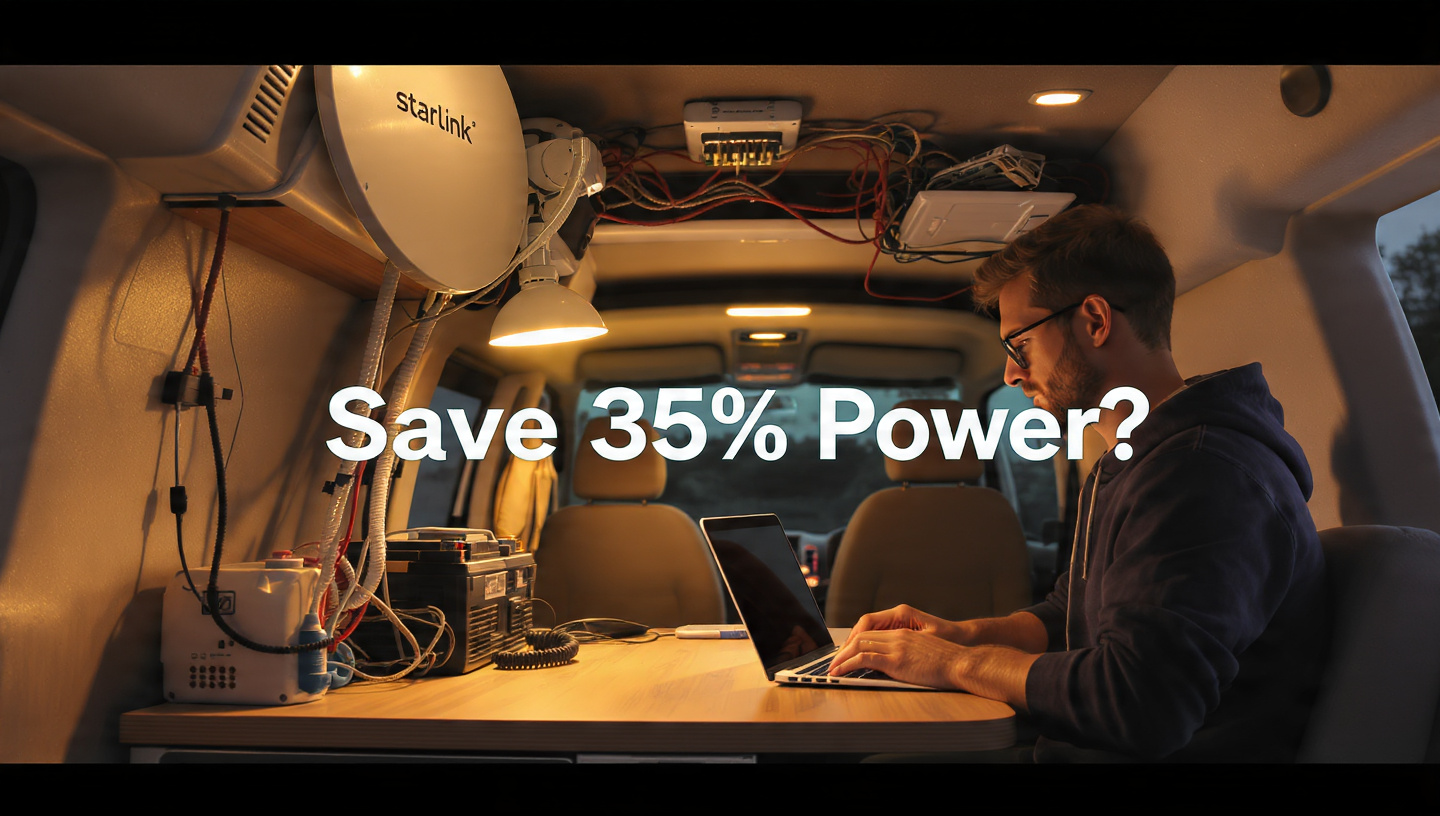
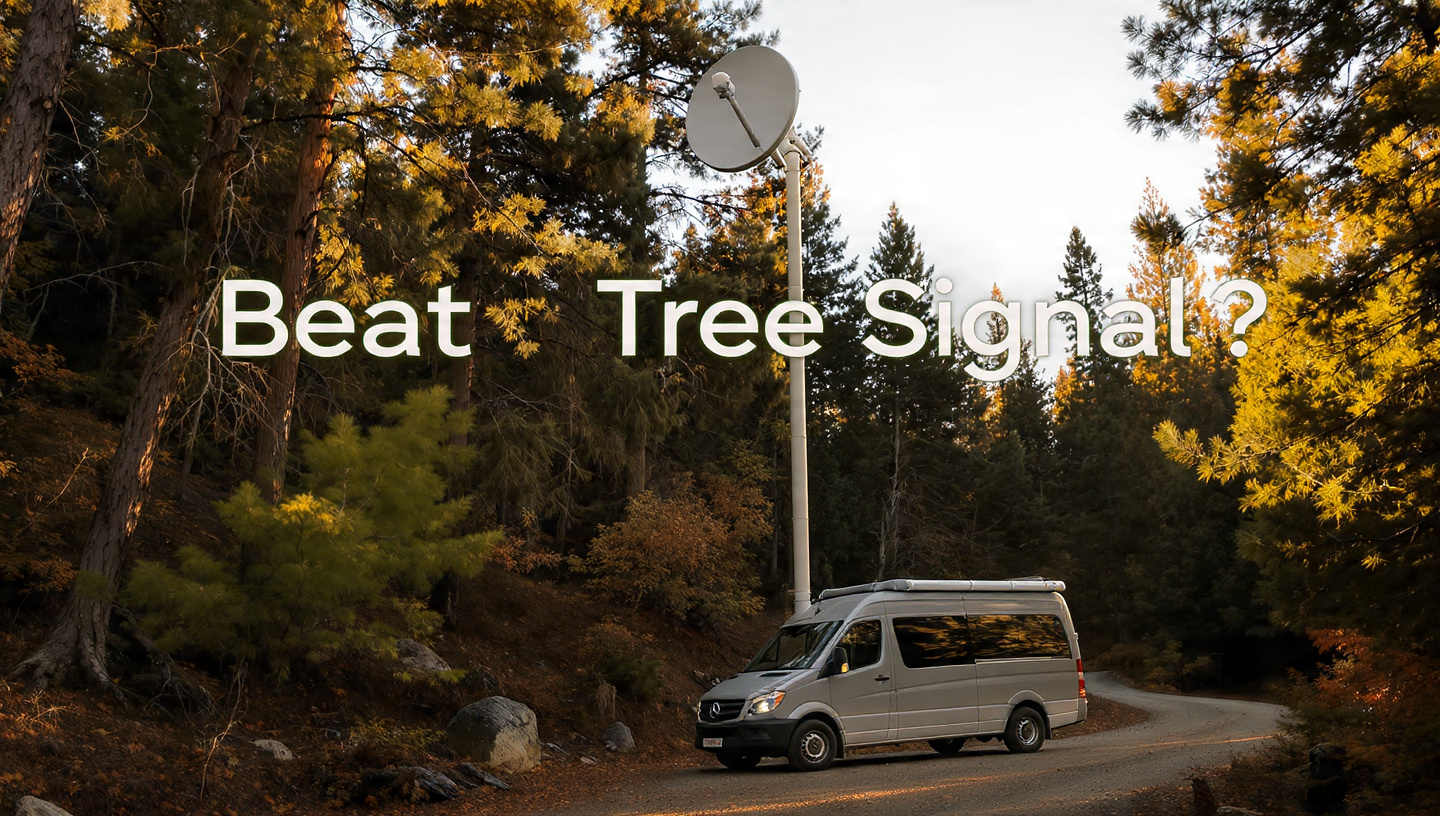
You are familiar with the “Red Light” of disaster on your Starlink app if you have ever left your van in the dense pine forests of the Appalachians or the vast, verdant forests of the Pacific Northwest. No matter how good your satellite internet is, it will still be unable to penetrate cedar trees that are sixty feet tall.

Costing more than $200, professional telescoping poles are not cheap. However, for the price of a pizza, you may find a solution to this dilemma at any nearby hardware shop if you’re an economical nomad.
Here we will show you how to construct a cheap, lightweight, and, most significantly, diy pvc pole mount that will elevate your dish into the sky for under $20.
1. A Physical Analysis of the “Tree Line” Issue
A broad, clear view of the sky is required for Starlink to function. A Zoom call or gaming session can be ruined by “micro-interruptions” caused by even a single wayward branch. The distance between 100 Mbps and 200 Mbps is often as small as 5 or 10 feet.
Starlink has far stricter criteria than, say, a livescope pvc pole mount for fishing or a how to make a gopro pole mount pvc for action shots. Ten feet of wind can twist your PVC pipe into a soggy noodle, so you’ll need something stable.
2. PVC, the Best Friend of the Budget Nomad
Vinyl chloride (PVC) is inexpensive, resistant to rust, and very simple to shape. No machine shop or welding equipment is required. A hacksaw and some PVC cement are all you need to make your own unique solution.

The material’s adaptability makes it ideal for a wide variety of uses, including custom bat box pole mounting pvc systems and mounting electrical box to 4 round pvc pole installations for camping. If you want to make sure that the wind won’t break your Starlink mast, we suggest using Schedule 40 PVC, which is the thick white substance.
3. How to Break Down $20 on a Shopping List
Obtain the following items from Home Depot or Lowe’s:
-
Ten feet of 1.5-inch Schedule 40 PVC pipe: approximately $10.00.
-
1.5-inch PVC couplings (foldable): about $2.00.
-
PVC end cap: ~$1.50
-
Thick-Duty Zip Ties or U-Bolts: about $5.00
-
Small container of PVC cement: About $3
Total: around $21.50 (Nearly met our $20 target!)
4. A Comprehensive Guide to Constructing Your Own PVC Pole Mount

Initial Stage: Establishing the Base Connection
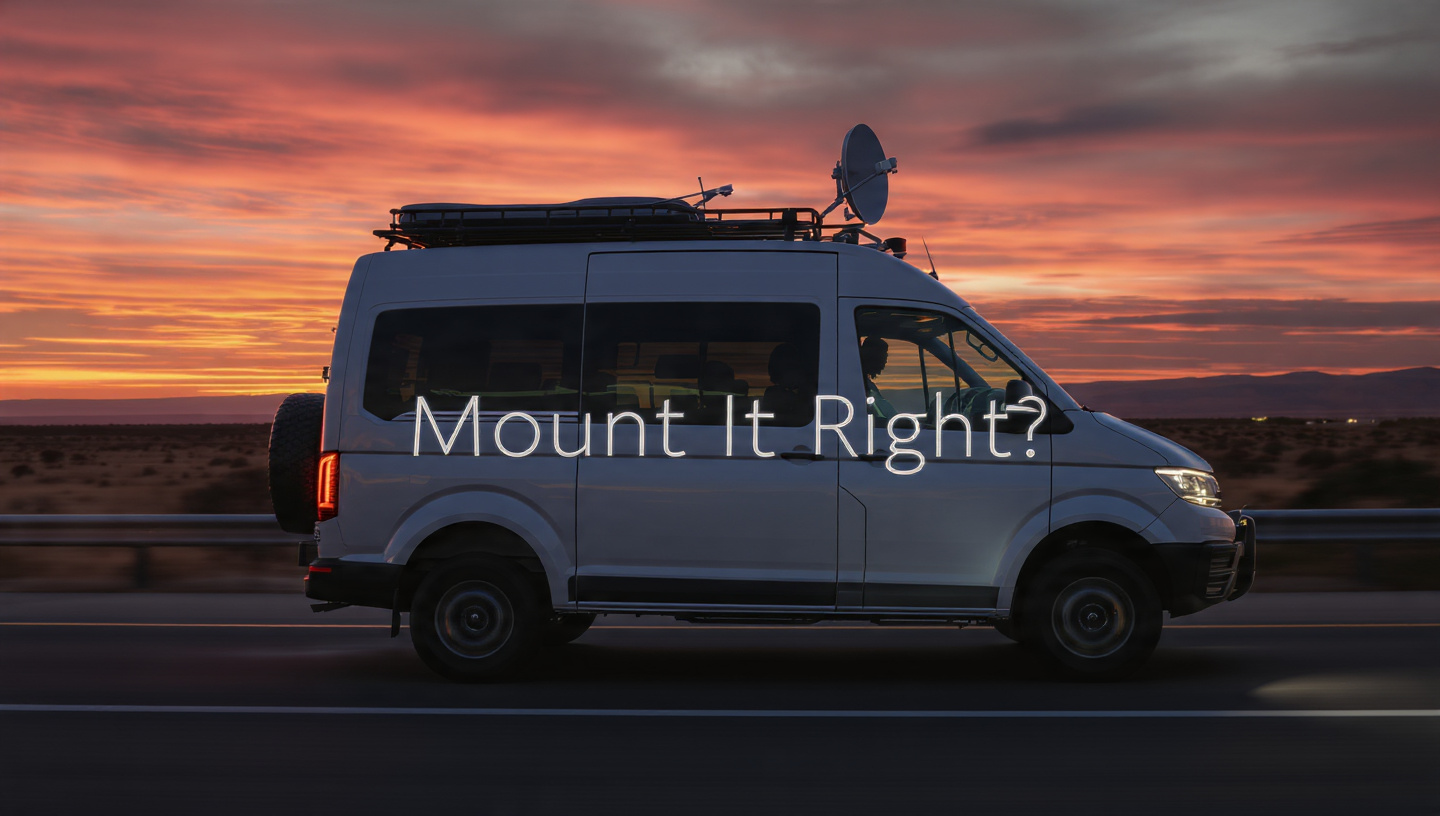
Determine the best spot on your van to fasten the pole. Back ladders or the side of a roof rack are usually the ideal places to put it. For a more permanent camping, you can mounting electrical box to 4 round pvc pole structures. To make it more like a “sleeve” for your 1.5-inch mast, you can bury the base of a larger 4-inch pipe.
Second Step: Starlink Adjustments
The diameter of the Starlink post is particular to Generation 2 or Generation 3. In general, 1.5-inch PVC pipes have a little too much width.
-
Snug Fit: Creating a “snug” fit within the PVC top can be accomplished by using heavy-duty rubber tape or a pool noodle fragment.
-
The “Pro” Move: Using the Starlink “click-button” to secure the hole you drilled through the PVC. Your $600 dish will remain securely in place, even in the face of a strong wind.
Step 3: Improving Portability
Van space is at a premium when transporting a 10-foot pipe. Separate the pipe into two 5-foot pieces and connect them using a threaded connector. Your diy pvc pole mount can be easily disassembled and stored beneath your bed or in a storage area when you’re not using it.
5. Maintaining Stability: Eliminating the “Wobble”
Sometimes, PVC at high altitudes might vibrate. Anyone who has watched a how to make a gopro pole mount pvc tutorial knows that the footage is ruined by vibration. When using Starlink, vibrations lead to “Packet Loss.”
-
The Solution: Utilize “Guy Lines” if your extension exceeds 8 feet in height. The pole will be completely stable in gusts up to 30 MPH if you simply connect some paracord from the PVC’s top to the corners of your van.
-
Permanent Installations: To make the bat box pole mounting pvc installation at a cabin more stable, you could want to fill the bottom three feet of the pipe with sand.
6. Testing in the Real World: Is it Effective?
I went camping in the California Redwoods last summer. No signal was reaching my rooftop dish. I purchased the materials at a nearby hardware store, followed the instructions to the letter, and then attached the diy pvc pole mount to my back ladder with three sturdy ratcheting straps.
My path was unobstructed by the lower canopy since I raised the dish eight feet. A constant 140 Mbps is now my speed, up from “Offline” before. It was the most worthwhile investment of my entire vacation for about $20.
7. Cautionary Notes
-
Lightning: Being at the highest point in a clearing is never safe, but a 10-foot plastic pole isn’t exactly a lightning magnet. During intense electrical storms, stay away from the pole.
-
Power Lines: Watch out for power lines at all times! Avoid putting up your diy pvc pole mount in areas with power lines. Wet or unclean PVC can still conduct electricity.
8. In Conclusion: Why This Is Superior to Expert Poles
-
Save $180 on the cost.
-
Replacement parts are available at any hardware store in the United States in the event that it fails.
-
Personalize it by adding attachments like a how to make a gopro pole mount pvc adapter for sunsets or a livescope pvc pole mount bracket for your fishing rig.
Although we at Rapidove adore high-end hardware, we hold the “MacGyver” mentality in high esteem. You may have first-rate internet access even in remote areas without breaking the bank, as this diy pvc pole mount exemplifies.
FAQs
Q: Would the thinner “Class 200” PVC work? A: In that case, no. The Starlink dish will cause it to flex because of its thinness. The usage of Schedule 40 or Schedule 80 is automatic.
Q: Is it true that sunlight may break down PVC? A: Ugh, PVC gets brittle after being exposed to UV light for a long time. Apply a light layer of spray paint to your diy pvc pole mount if you intend to leave it outdoors all year.
Q: Is it okay to have the lights on while I sleep? A: If you have it securely fastened to your van and the wind speed is less than 20 mph, then definitely. Down it comes if a tempest is brewing. It won’t take more than a minute.