

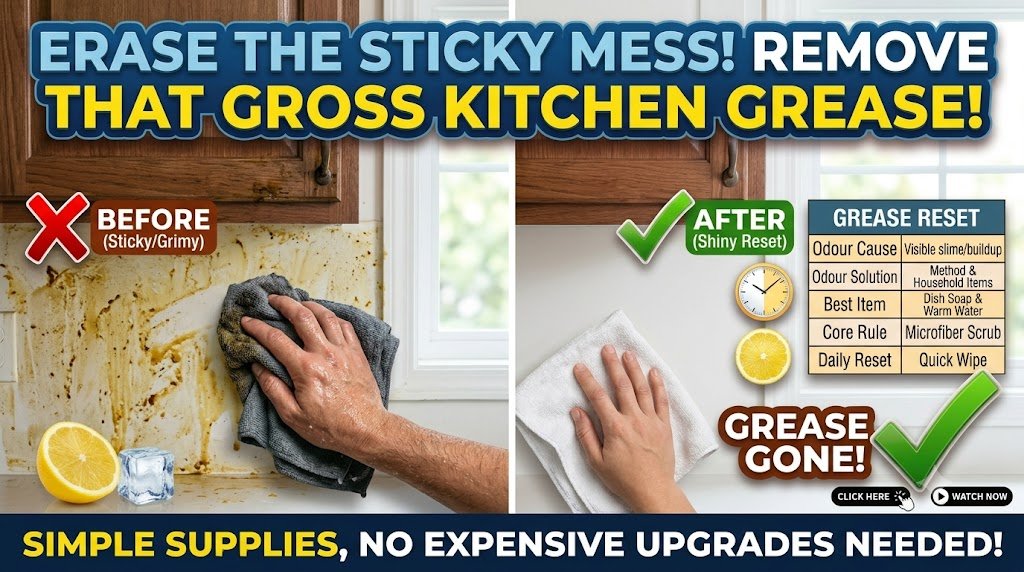
A thin coating of oily residue can gradually accumulate on cabinets, walls, backsplash areas, and other surfaces, even if you clean your kitchen frequently. Steam and cooking oils can disperse throughout the space, leaving behind sticky residue that is challenging to clean up.
The good news is that costly cleaning supplies and hours of scrubbing are not always necessary.
The majority of kitchen grease may be eliminated with the correct method and a few basic cleaning supplies.
1. To begin, remove any loose dirt or dust.
Clear the surface of any loose dust, crumbs, or dirt before handling the grease.
Wipe the walls and cabinets lightly with a dry microfiber towel. Although it might not seem required, this step keeps loose dirt from combining with the cleaning solution and making the situation worse.
Areas close to the stove, range hood, and countertops should receive special care.
Due to their proximity to cooking activities, these locations typically accumulate more oil.
2. Use dish soap and warm water.
Using warm water and dish soap is one of the easiest ways to deal with kitchen grease.
The greasy film that forms on kitchen surfaces can be removed using dish soap because of its ability to break down oils.
Fill a bowl or pail with warm water and add a small quantity of dish soap.
A microfiber fabric should be dipped into the solution and wrung out thoroughly.
It is recommended that the cloth be moist, rather than completely saturated.
First, begin by wiping a small section of the cabinet or wall. Practice delicate circular motions and refrain from applying excessive pressure.
A clean, damp fabric should be used to re-wipe the area after cleaning to eliminate any remaining soap.
3. Do not soak wooden cabinets.
A little more care is required for wooden cabinets than for some other kitchen surfaces.
Excessive water can penetrate seams or unfinished areas, which may result in damage.
For the purpose of cleansing wood cabinets, employ a damp cloth that is not dripping water.
Apply the cleaning solution to the cloth rather than directly pouring it onto the cabinet.
Use a dry microfiber cloth to eliminate any remaining moisture that may have been left behind after the cleansing process.
The manufacturer’s cleaning instructions should always be reviewed prior to the use of a new product if your cabinets have a unique finish.
4. Try a Mild Degreasing Solution for Stubborn Areas
At times, normal dish soap is inadequate.
You may require a slightly more potent cleansing solution if grease has been present on the surface for an extended period.
Mild household degreasers can assist in the breakdown of tenacious residue.
Apply the product in accordance with its instructions and conduct a preliminary test on a small, concealed area.
If you are washing painted cabinets or walls, this is especially crucial, as certain products may impact certain finishes.
The cleaner should be allowed to operate for the recommended duration, rather than being aggressively scrubbed immediately.
Use a clean microfiber cloth to remove the grease once it has softened.
5. Pay Attention to Cabinet Handles
Cabinet doors are not the sole locations where grease accumulates.
Because they are frequently touched during the cooking process, cabinet handles and knobs can become unexpectedly dirty.
Your palms may be contaminated with oil, food residue, or moisture when you open a cabinet.
Remove the handles if they can be safely removed and sanitize them separately when necessary.
If handles are difficult to remove, use your cleaning solution to gently wash them and then dry them.
Don’t neglect the edges of the handles, as they are susceptible to the accumulation of grease and dirt.
6. Clean the Area Surrounding the Stove with Care
The wall and cabinets immediately adjacent to your stove frequently accumulate a greater quantity of grease than other areas of the kitchen.
Oil particles and steam are generated during the cooking process, and they have the potential to disperse through the air and accumulate on adjacent surfaces.
Begin by clearing away any miscellaneous debris.
Use warm water and dish soap or an appropriate kitchen degreaser.
Instead of endeavoring to clean the entire wall simultaneously, work in small sections.
Wipe the area with a clean, moist cloth and allow it to dry after the grease has been removed.
To prevent the use of an overly aggressive cleaner on painted surfaces, it is recommended that you conduct a preliminary test.
7. It is important to remember the tops of cabinets.
If your kitchen cabinets do not extend to the ceiling, take a peek at the top surfaces.
These regions are frequently overlooked due to their lack of visibility.
Nevertheless, a sticky layer that is more difficult to remove can be formed when dust and grease combine on the surface of cabinets.
Loosen the accumulation by employing a damp microfiber cloth and an appropriate cleaning solution.
Rather than attempting to eliminate all residue in a single pass, it may be necessary to repeat the procedure for heavy residue.
Once the surface has been cleaned, it should be thoroughly dried.
8. Utilize the Appropriate Cloth
The cleansing cloth you employ can facilitate the task.
A microfiber cloth is an effective choice for cleaning a variety of kitchen surfaces, as it can remove dirt and residue without necessitating an excessive amount of scrubbing.
Steer clear of materials that are rough and could potentially damage delicate, painted, or finished surfaces.
Additionally, it is advisable to employ distinct fabrics for areas that are particularly oily.
Rinse or replace the cloth if it becomes saturated with grease, rather than continuing to disseminate the residue throughout the kitchen.
9. Begin at the top and work your way down
Begin by cleaning the topmost area of the kitchen cabinets and walls and work your way down.
For instance, it is advisable to clean the upper cabinets prior to the lower cabinets.
If you begin by cleaning the lower areas, the dust and cleaning solution from the higher surfaces may descend onto them, necessitating that you clean the same area twice.
The process is more organized, and time can be saved by working from the top to the bottom.
10. Rinse Away Cleaning Residue
It is important to remember to wipe the surface with a clean, damp cloth after the grease has been removed.
If they are not correctly removed, certain cleaning products may leave behind a thin film.
The surface can become sticky again as a result of the film’s ability to attract dust.
Utilize a clean microfiber cloth and clean water to eliminate any remaining cleanser.
Then, use an additional clean cloth to cleanse the surface.
This final measure is especially beneficial for painted walls and cabinet doors.
11. Exercise Caution When Working with Painted Walls
Cleaning products may react differently to painted walls.
Some paints are more washable than others, and aggressive cleaners can damage certain finishes.
Test your solution on a small, less noticeable section before cleaning a large area.
Apply gentle pressure and use a delicate cloth.
Stop using the product if the paint begins to fade, alter texture, or transfer onto the cloth.
Mild soap and water are frequently a safer initial step than strong chemicals for routine maintenance.
12. Refrain from combining cleaning products
While it may appear to be a method to expedite the cleaning process, the use of multiple cleaning products simultaneously can be hazardous.
Do not combine household cleaning chemicals unless the product instructions explicitly indicate that it is safe to do so.
Certain combinations may generate hazardous vapors.
Rather, adhere to the instructions on the label and use only one suitable cleaning product at a time.
Additionally, adequate ventilation is advantageous when employing cleaning agents in a kitchen.
13. Prevent the Recurrence of Grease Buildup
The subsequent objective is to prevent the rapid recurrence of the same accumulation after the cabinets and walls have been cleansed.
Utilize your exhaust fan or range hood when cooking, particularly when frying or preparing foods that generate a significant amount of vapor.
Instead of waiting until the grease becomes thick and sticky, it is recommended that you regularly wipe down the areas surrounding the stove.
Additionally, it is possible to clean cabinet handles and frequently touched surfaces more often.
Dealing with months of accumulated oil can be significantly more difficult than a few minutes of maintenance.
14. Increase the Frequency of Cleaning Small Areas
It is unnecessary to conduct a thorough cleaning of the complete kitchen on each occasion.
As an alternative, pinpoint the regions that accumulate grease at the most rapid rate.
This encompasses the range hood, cabinet doors near the heating surface, backsplash, and stove area in numerous kitchens.
Regularly wiping these areas prevents residue from becoming challenging to remove.
Additionally, this method can expedite your typical kitchen cleaning regimen.
15. Establish a Consistent Cleaning Schedule for Your Kitchen
A kitchen that is tidy is not solely about its appearance.
In addition to causing surfaces to feel sticky, grease accumulation can also attract dust and other contaminants.
Preventing the issue from becoming overwhelming can be achieved by establishing a straightforward cleansing regimen.
Clean the cabinet handles every few days, wipe the area around the stove after cooking, and perform a more thorough cleaning of the cabinets and walls as necessary.
The precise schedule is contingent upon the frequency of cooking and the varieties of food that are prepared.
In conclusion,
Expensive products or intricate procedures are not always necessary to eliminate greasy kitchen detritus from cabinets and walls.
Begin by utilizing basic supplies, including dish detergent, microfiber cloths, warm water, and an appropriate degreaser when required.
Work meticulously, particularly when cleaning wood cabinets, painted walls, and delicate finishes.
Always test unfamiliar products in a small area before use, avoid soaking surfaces, and clean from top to bottom. Rinse away any leftover cleaning products.
The most critical aspect is not to delay until a dense layer of grease has formed.
A few minutes of routine cleaning around the stove and other high-use areas can maintain the cleanliness of your kitchen and simplify future thorough cleaning.